

How To Store Artificial Flowers In Craft Room
Bound to How-To
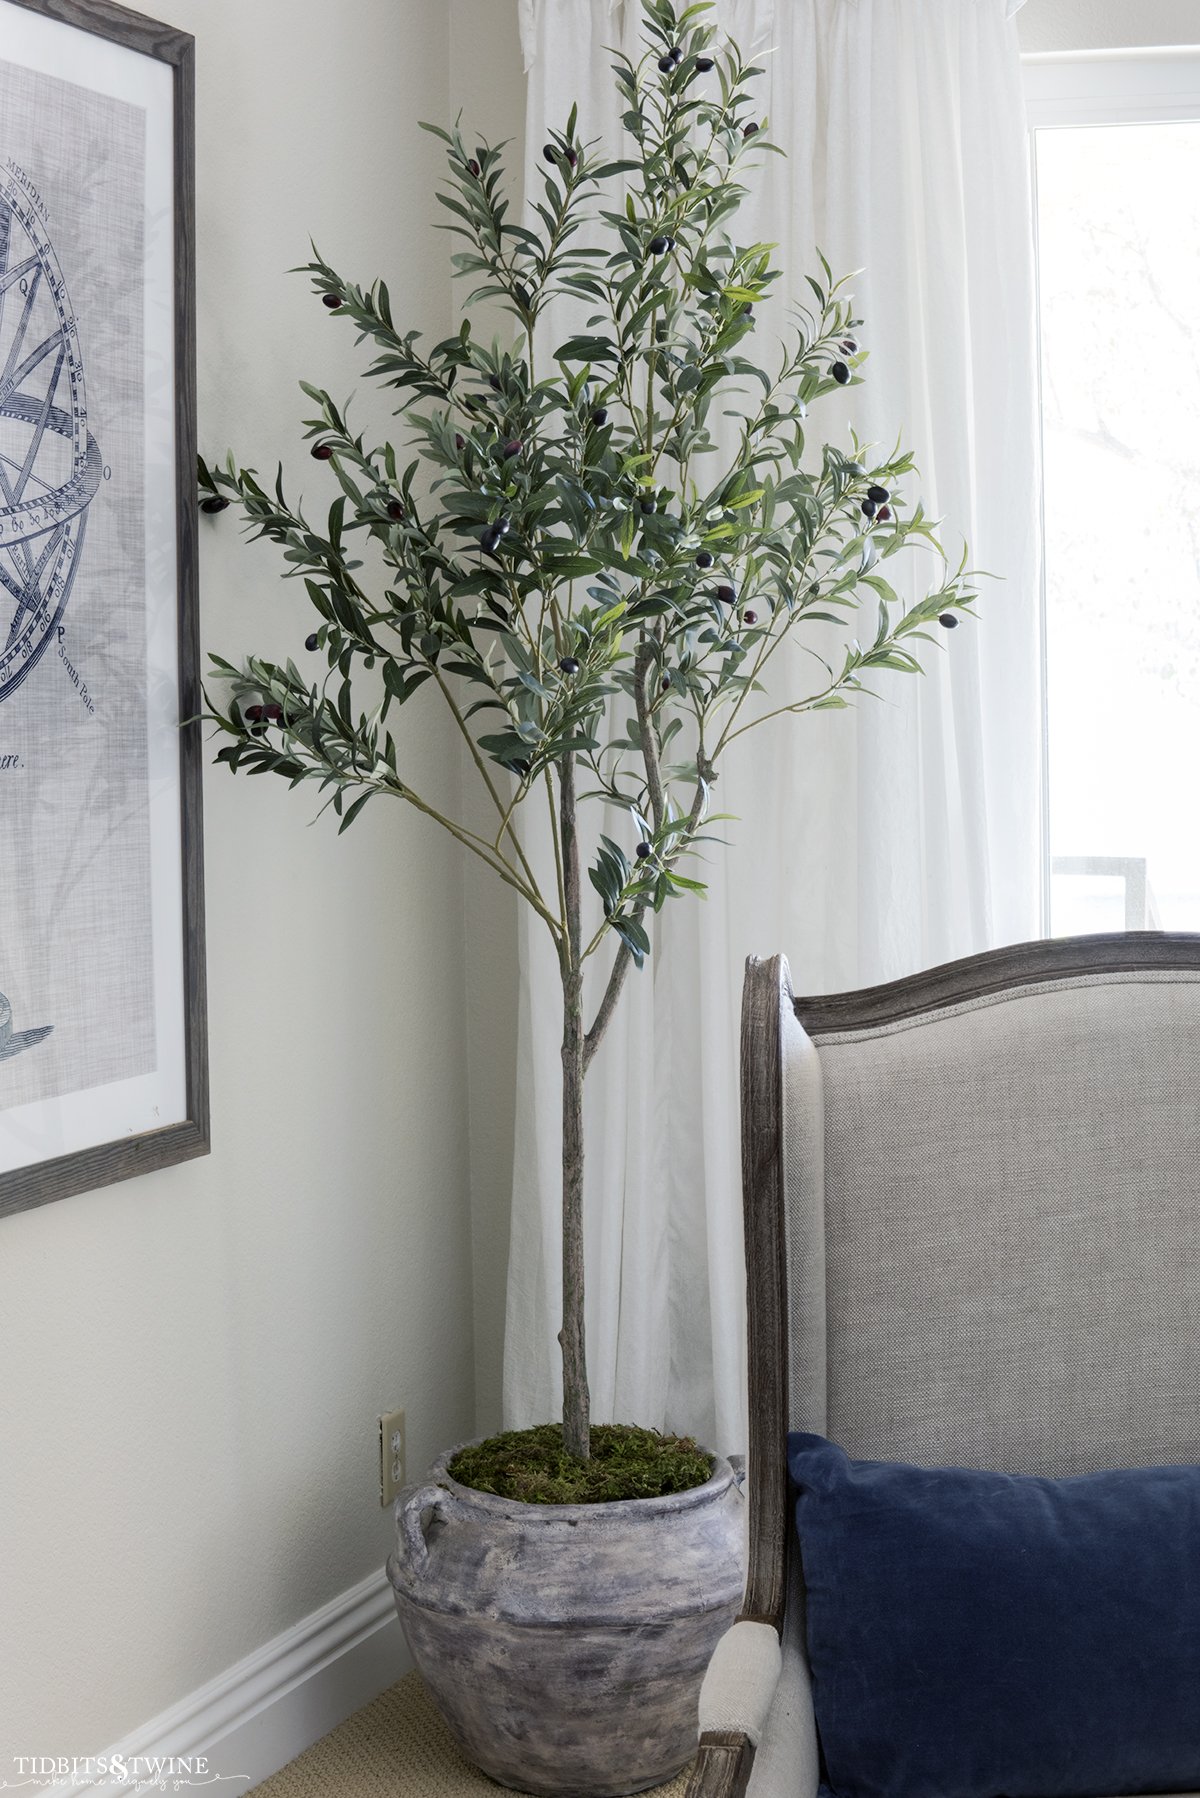
Yous can accept the near beautiful, realistic fake plant and it'll withal wait imitation if you lot don't fashion it properly! Here are 2 easy methods for how to secure artificial plants in pots and make your fake plant wait real.
I take a pretty brownish thumb when information technology comes to houseplants. Actually, it's not entirely my mistake….the lighting isn't great in the areas where I unremarkably desire to display plants (like in the corner). Well, at to the lowest degree I tell myself that the trouble is the lighting… Lol!
I've previously shared my favorite fake plants, but let me reiterate ane bespeak. I am very detail nearly fake plants. The leaves need to look existent, the branches/trunk needs to be realistic…I'1000 fifty-fifty particular nigh the manner that the leaves attach to branches!
But none of that matters if your fake plant isn't properly styled so that it looks real.
About fake plants come up in a inexpensive plastic, weighted pot with brown/black plastic dirt. Some practice come in plastic containers with Spanish moss and while I practise like Castilian moss, the cheap plastic container is yet a dead giveaway.
With that being said, you can't just buy a simulated establish and toss it in the corner or plop it on the coffee table and think y'all're washed. No, you have to style it. That'due south why it'south important to pot artificial plants and then that they look real!
I utilise ii dissimilar styling methods in my home so I'll share both with you!
How to Secure Artificial Plants in Pots
I have several fake plants in my own home and have had them for years. Here's my secret to styling:
The key to making a fake plant look real is to add real elements to it!
Kim @Tidbits&Twine
Delight don't misunderstand me and start calculation real leaves into your simulated plant! No, add together your real elements at the base!
Base Elements
- Rocks
- Moss
- Moss Rocks
- Clay
Dirt, rocks, and moss are all real elements you lot'd find at the base of a real houseplant, then they should exist at the base of your fake houseplant, too!
Materials Needed
- Artificial found
- Decorative planter/pot
- Scissors
- Packing material (newspaper, plastic numberless, etc)
- Riser (optional)
- Cardboard or plastic pot liner
- Dirt or moss (depending on method below)
Potting Method ane – For Dirt & Small Rocks
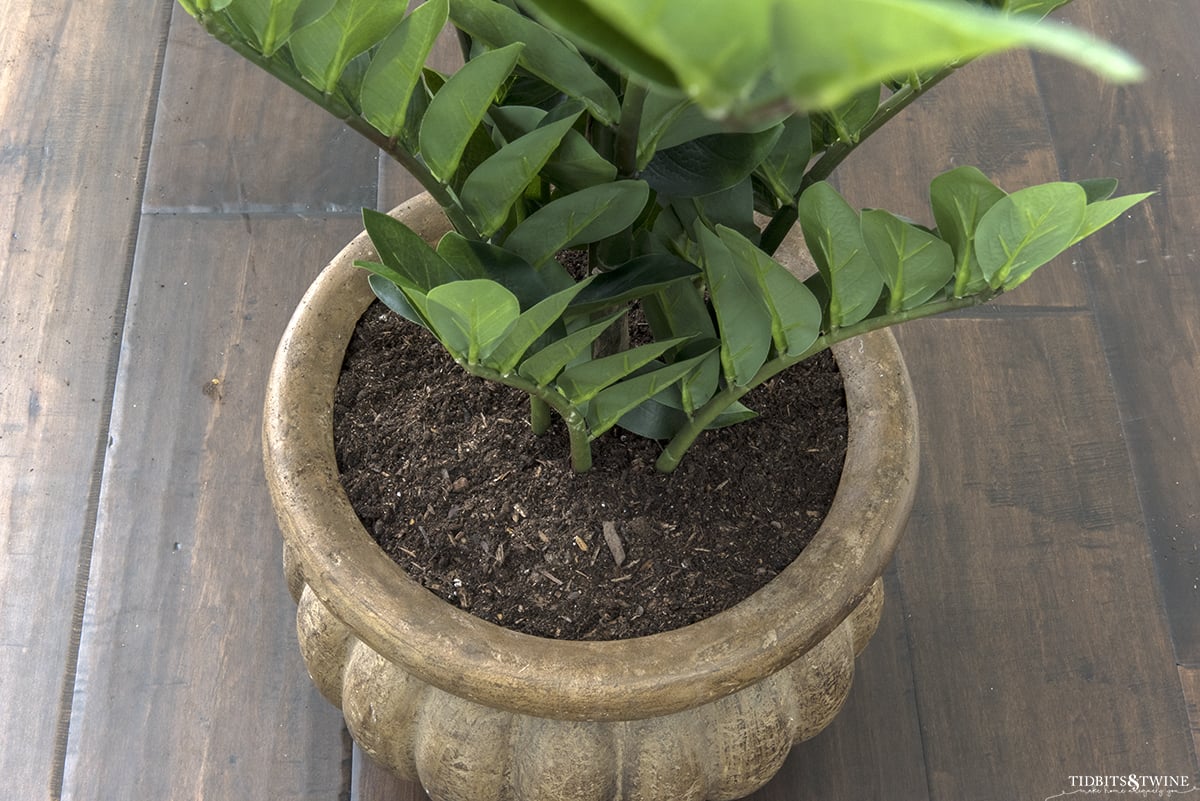
To me, the most realistic-looking faux plant is one that has clay at its base. While you could just plop your fake plant into a pot and fill the whole thing with clay, that could potentially be a lot of dirt and would be very messy if you ever want to change the pot or institute. Instead, follow these uncomplicated instructions.
Commencement, beginning by upgrading that yucky plastic container with something beautiful that fits your design style! I personally honey using baskets only for the texture, but any container that is wide enough to suit the plastic pot and deep enough that you tin embrace it will do.
If your planter has directly sides, you tin can simply flip it upside downward on a piece of cardboard. Trace around the opening to create a circle that is the same diameter as your pot. From at that place, starting time with Step 2 below.
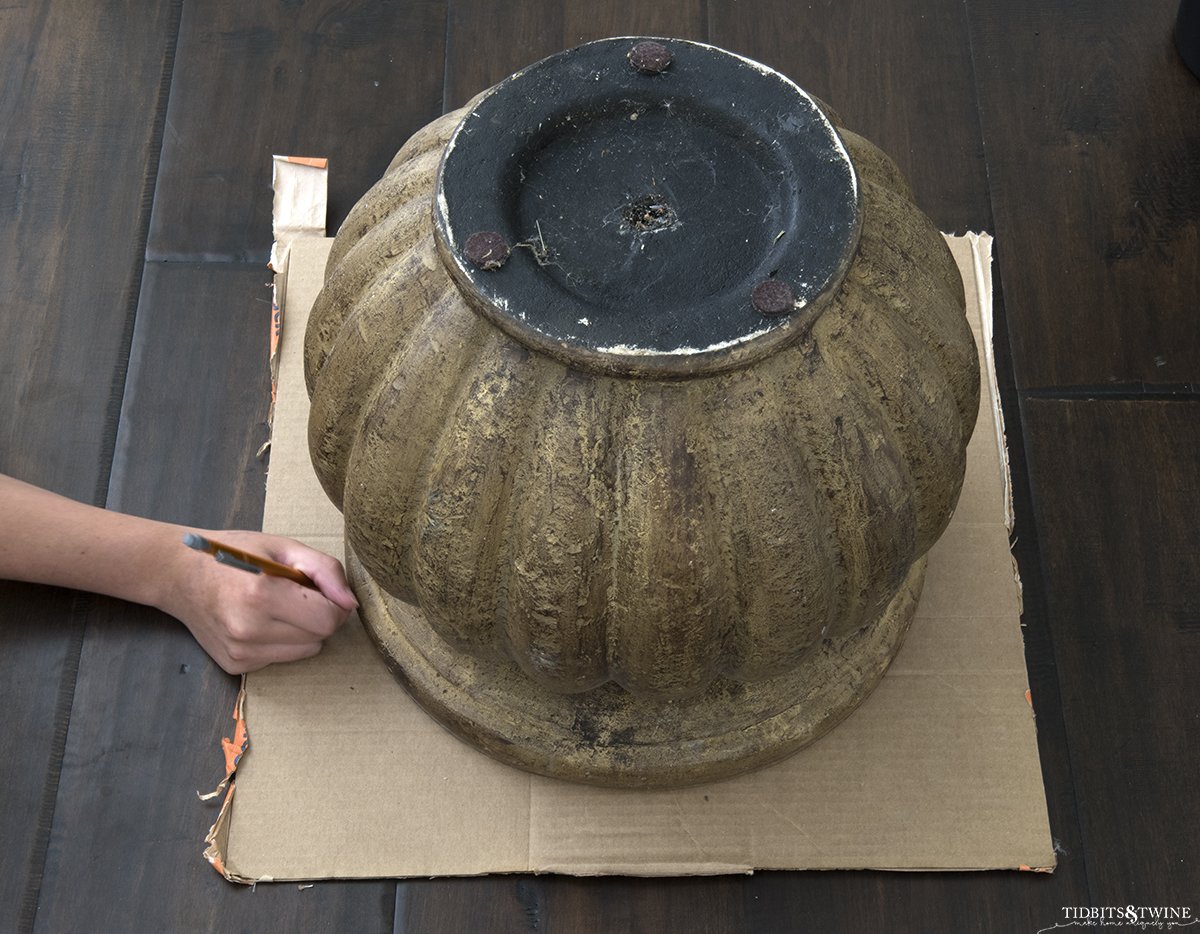
But, not all pots take straight sides, like the one I'1000 using hither. For pots/planters that are curvy or with thick sides, use a plastic pot liner instead! With the sparse plastic liners, you lot can bend them to fit the shape yous demand.
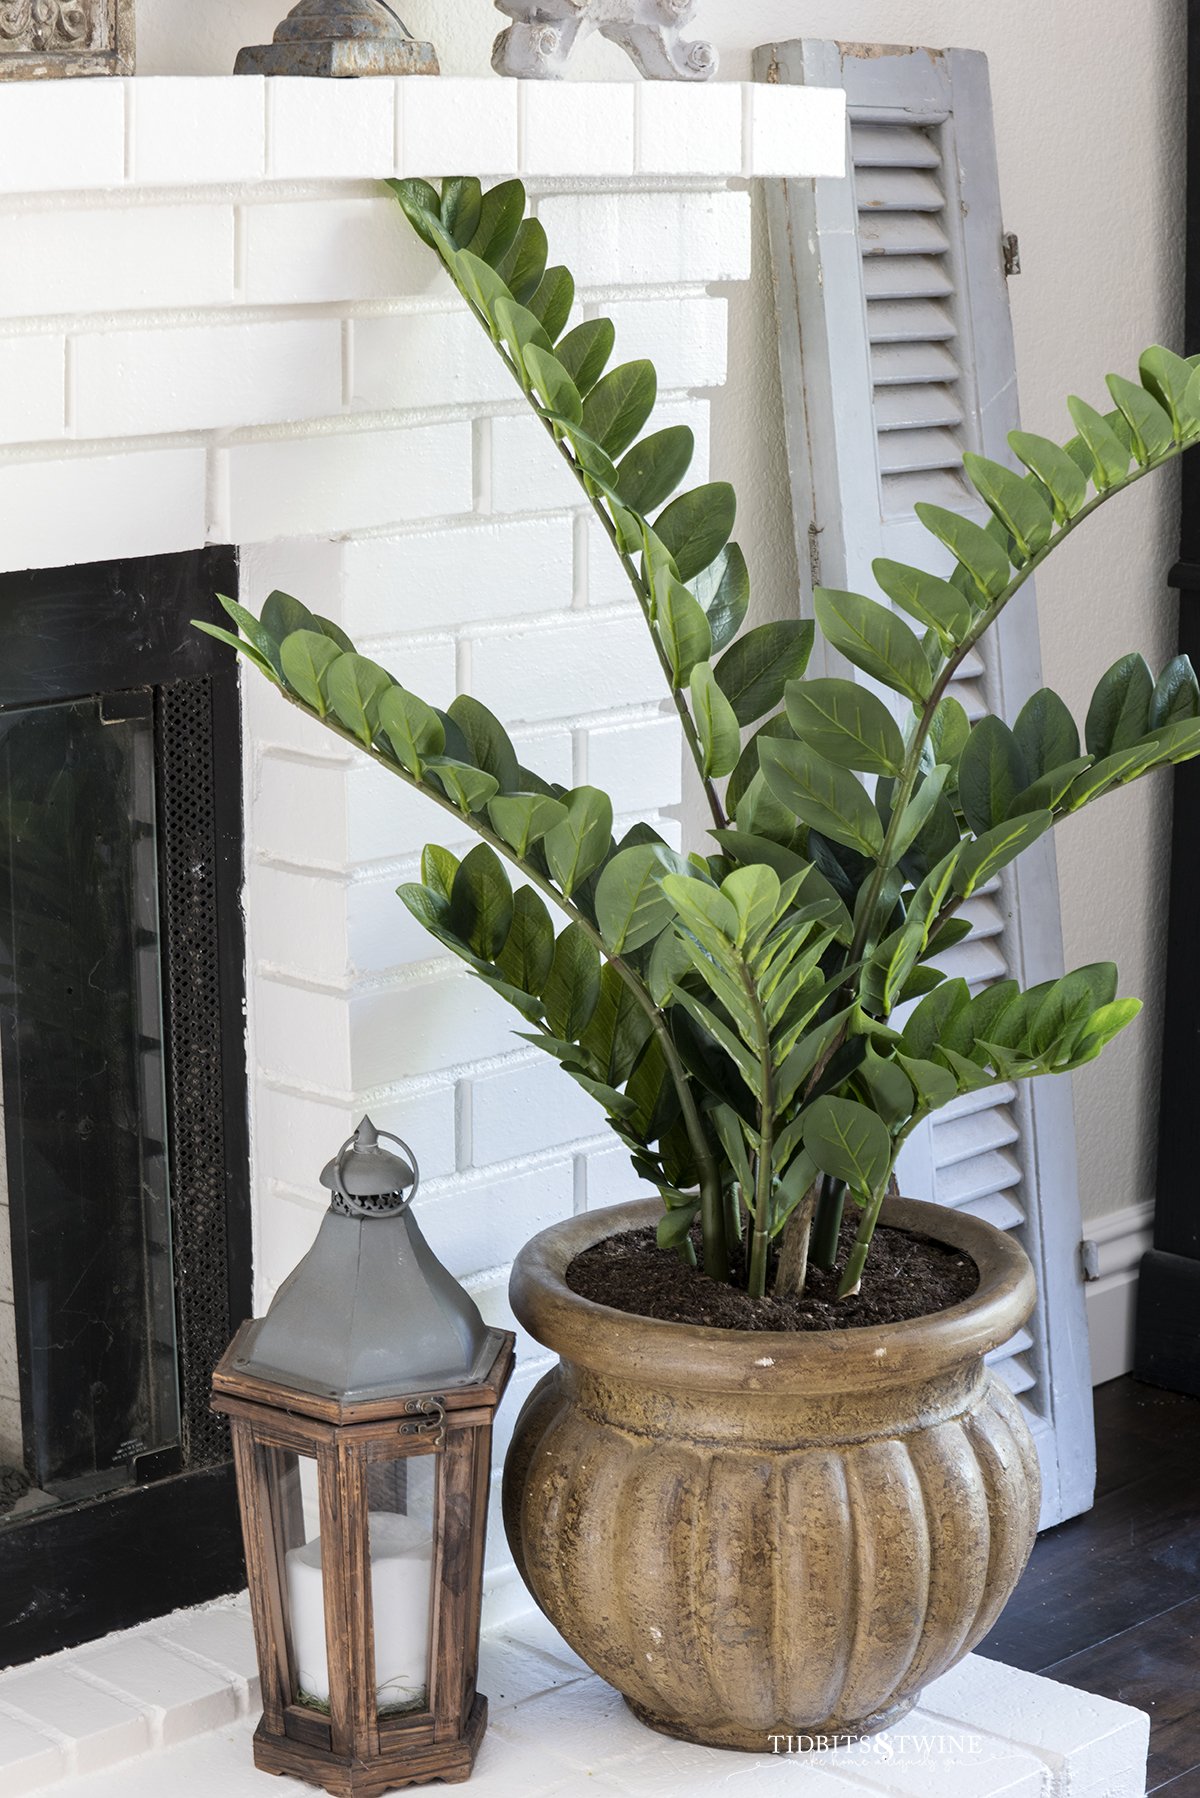
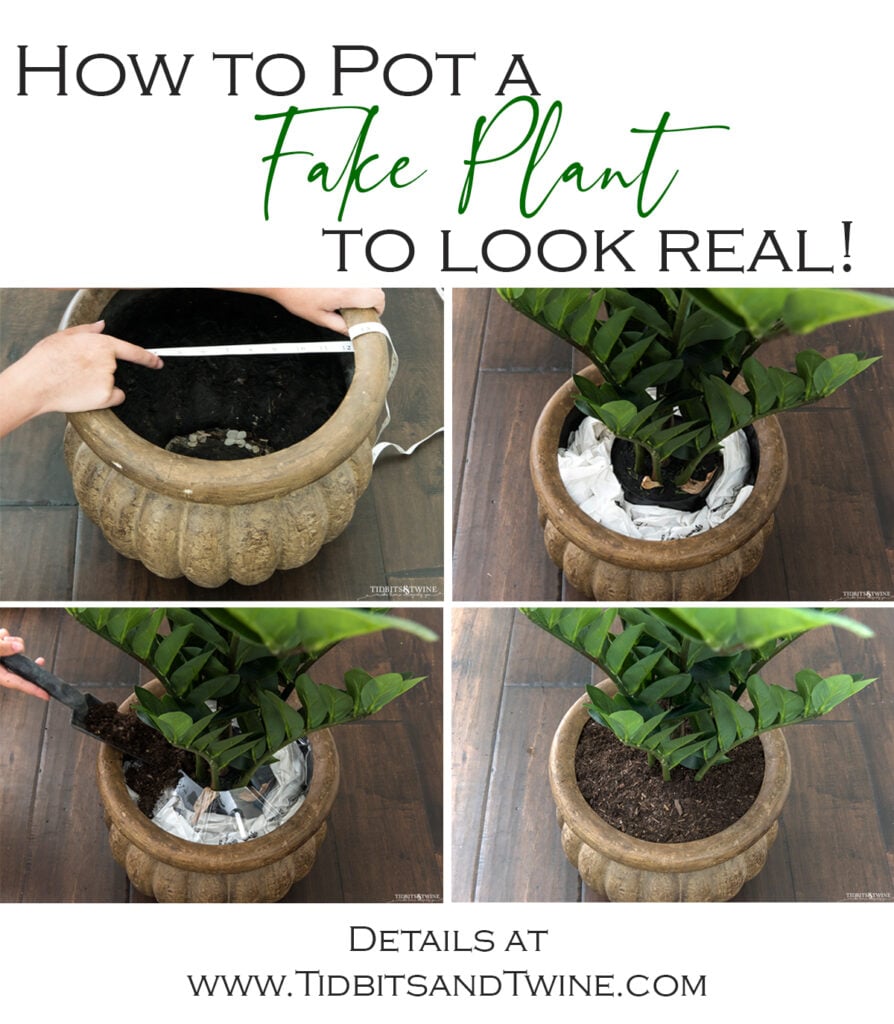
I'1000 using an artificial ZZ Establish and a pot I had sitting in my garage for years.

Step 1
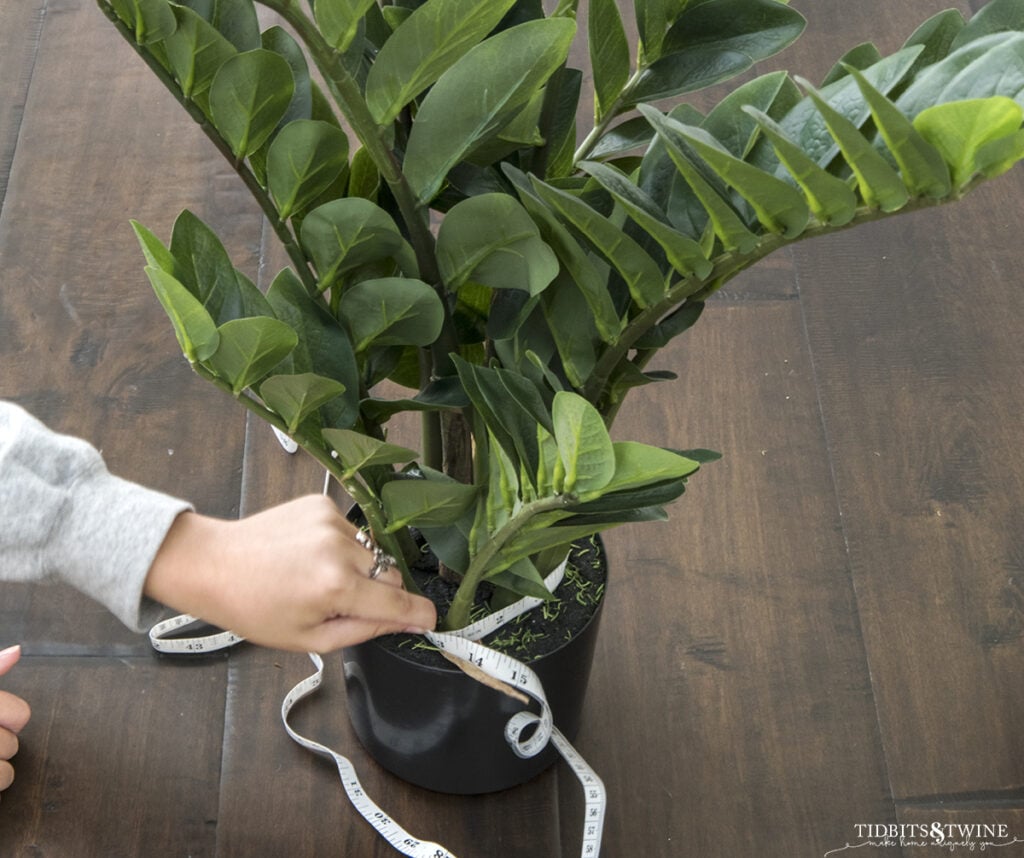
Mensurate the opening of your pot AND the diameter at the height you desire your plant to sit. The opening of mine is 11″ but further downward where the institute will sit down is 12″. The plastic liner is flexible so I tin can clasp 12″ through the 11″ opening.
Step 2
Measure the circumference of your constitute at the base (measure out the plant, not the pot).
Step iii
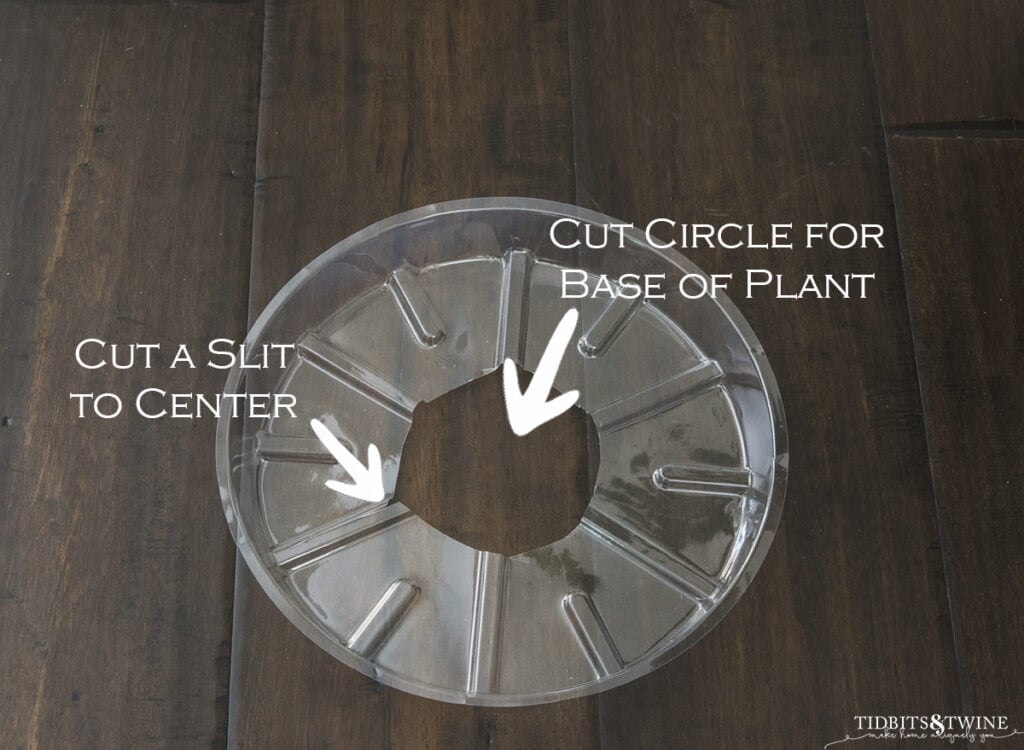
Select a plastic liner size nearest to the diameter of your finished opening. Cut from the outer border to the center. Considering the plastic is flexible, this cut will allow you lot to contract/expand the liner as needed. Cut a circumvolve in the center matching the bore of your plant'due south leaves/stem.
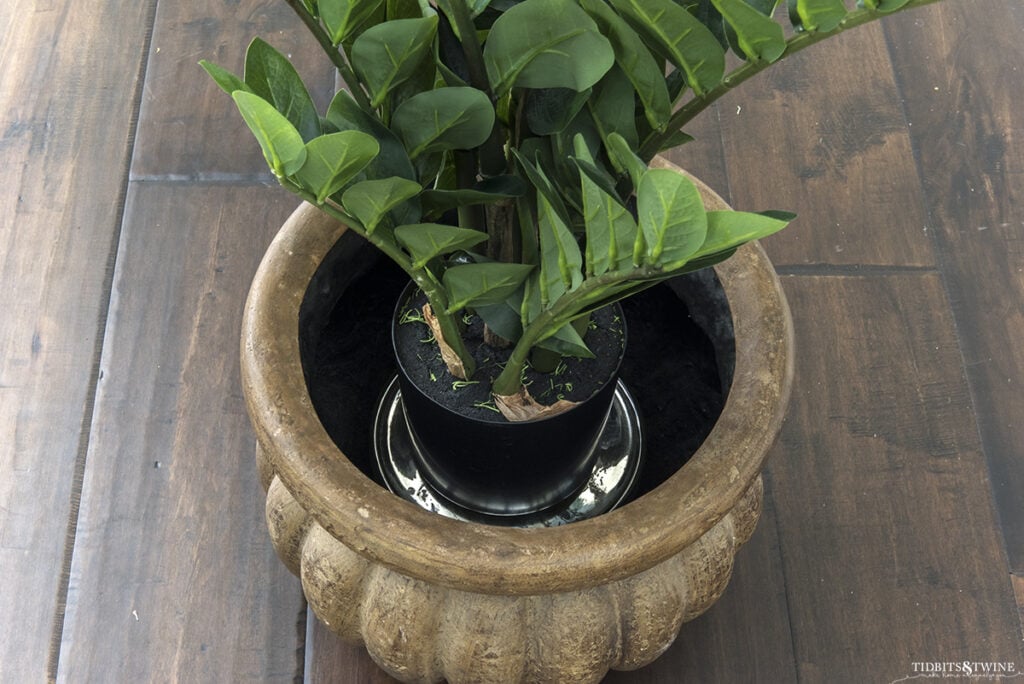
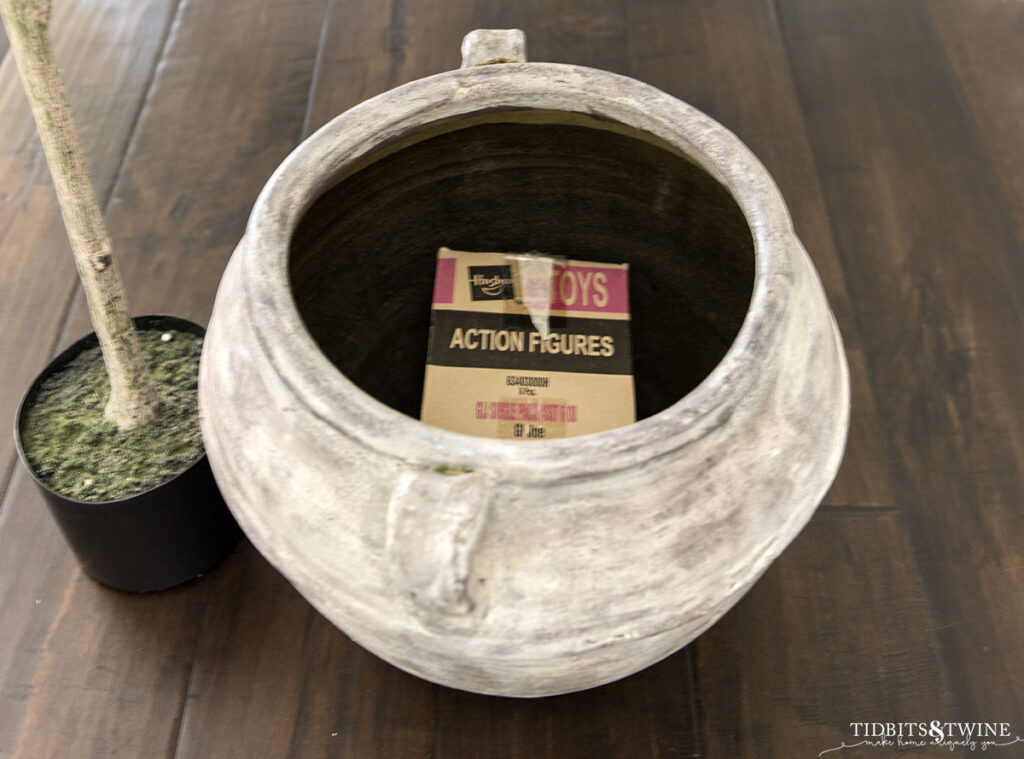
Step iv (optional)
Determine your finished tiptop. If your container is deep and yous desire to raise the height of your plant, add a base. Y'all tin use books, boxes, even Tupperware! Just make sure that any y'all use to add height is sturdy and that your plant is stable on it.
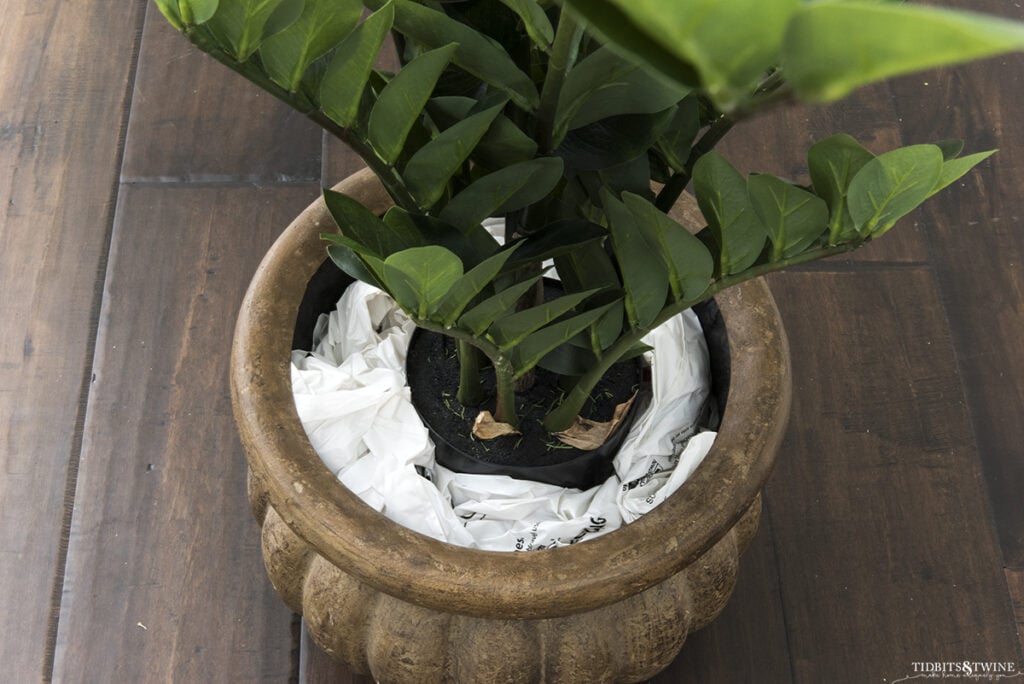
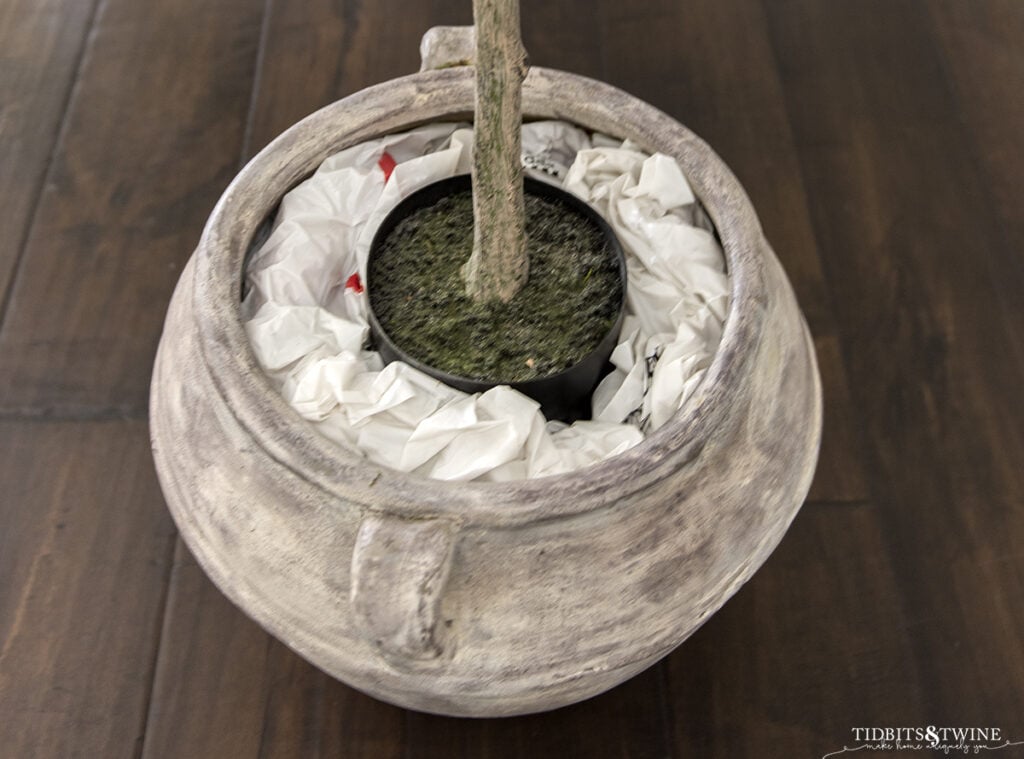
Pace 5
Fill up in the gaps. I use grocery shop bags nigh e'er, only newspaper, tissue, bubble wrap, or any blazon of filler fabric will do!
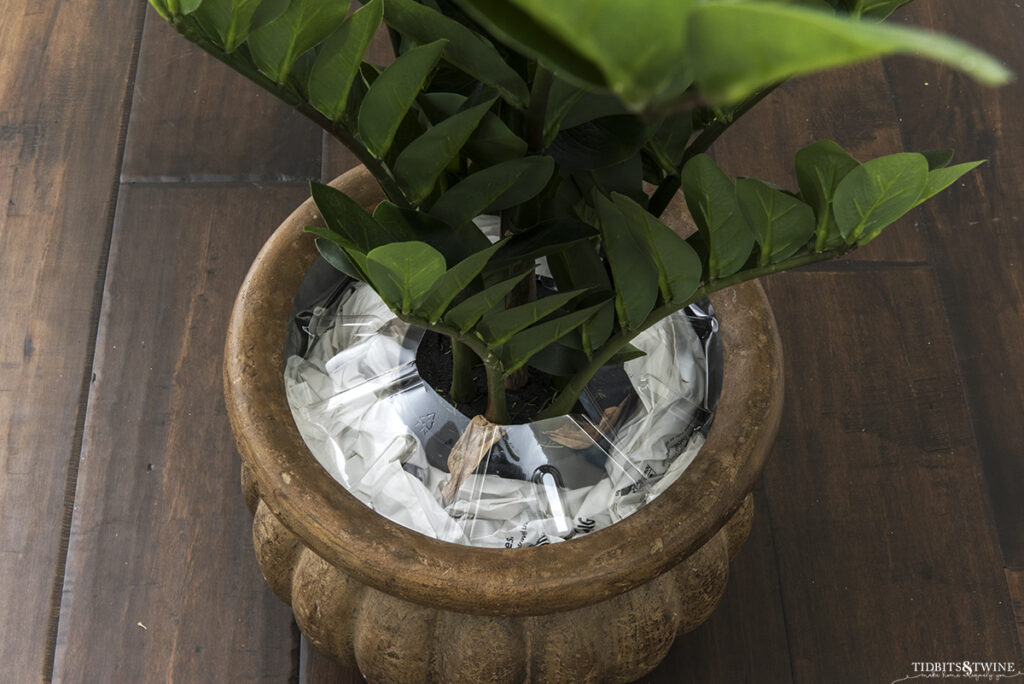
Step 6
Insert your liner (or cardboard).
Step vii
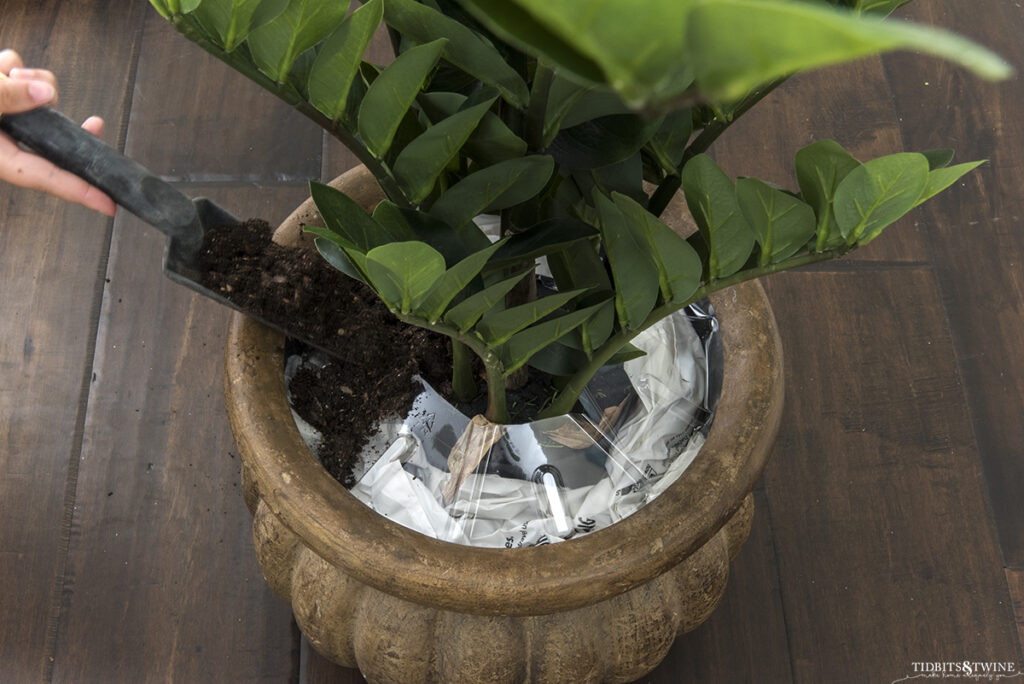
Add together a layer of dirt to embrace the liner and plastic pot.
Just wait…
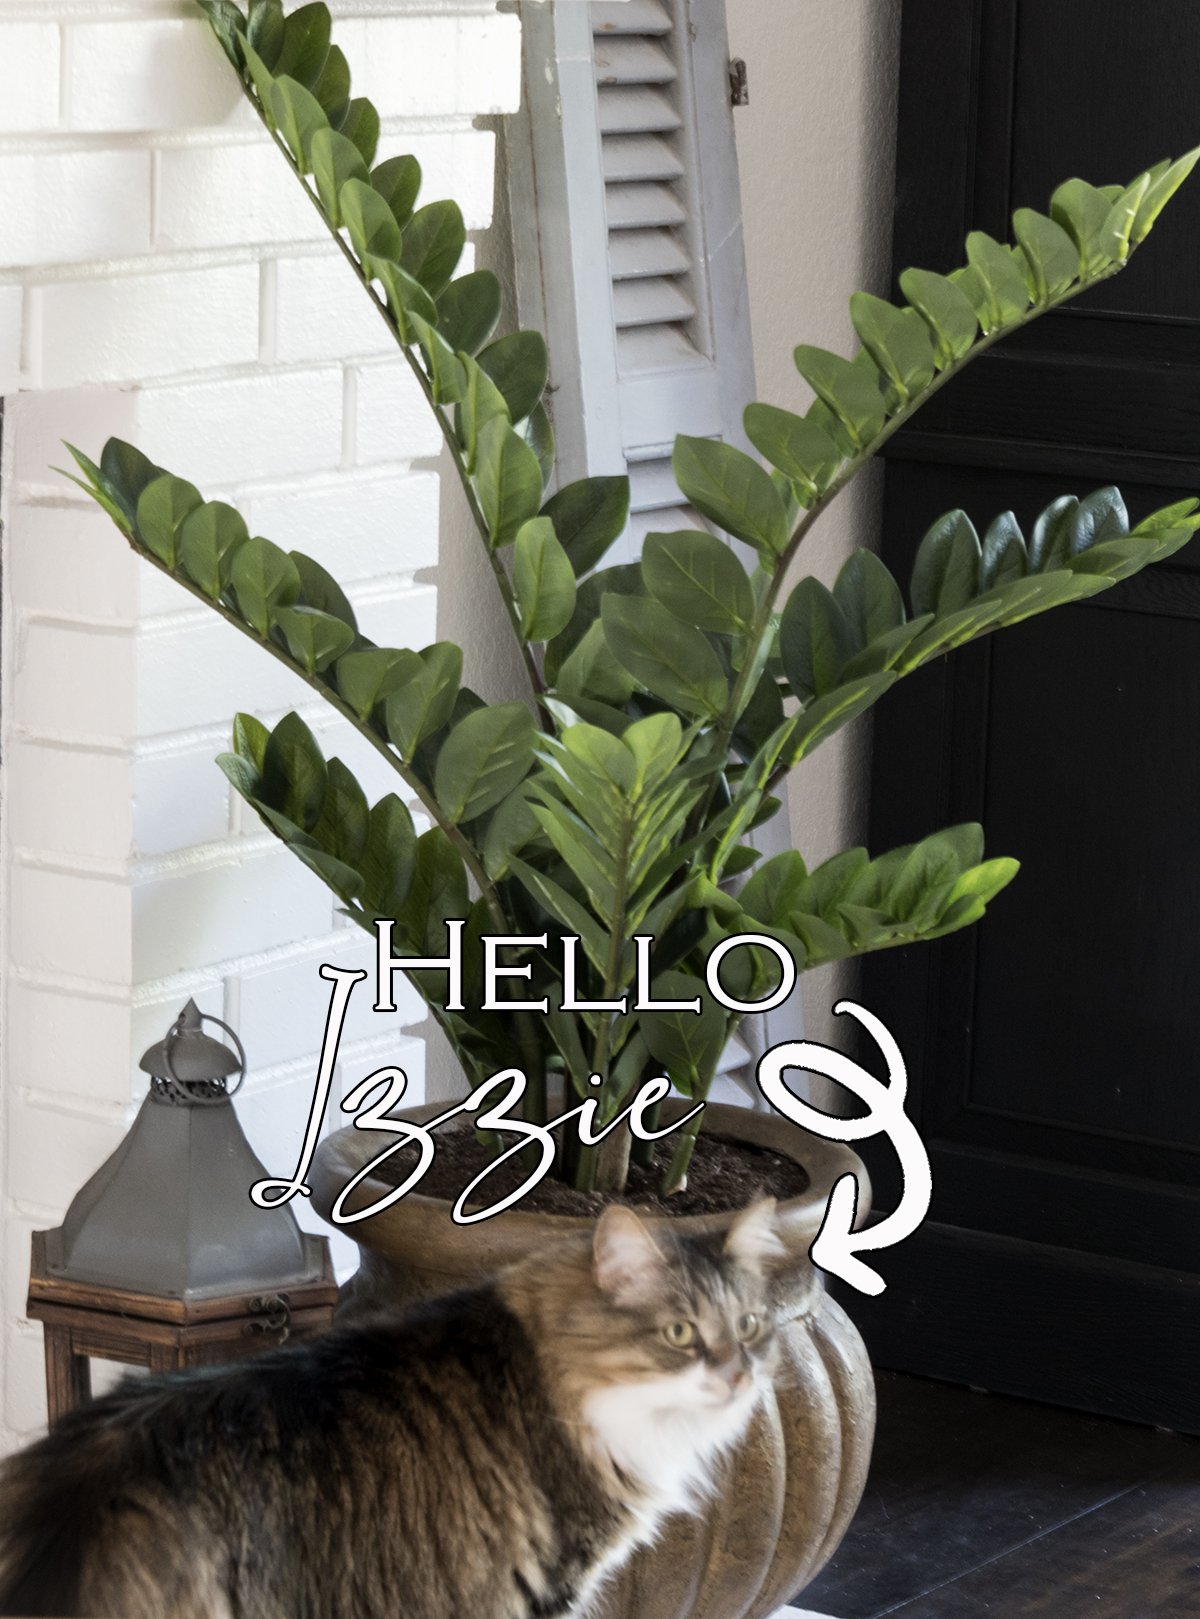
I have a cat who loves to dig. In fact, every bit I was setting upwardly my photo, guess who made an appearance and just had to cheque out the nice new dirt I'd added!
Then I utilize moss most 90% of the fourth dimension in my own domicile. I would actually adopt to use dirt because I recall it looks fifty-fifty more realistic, just I need to be applied sometimes (just sometimes, not always!)
5 DECORATING TIPS You Should Know!
Go my FREE 5-twenty-four hours electronic mail guide and bring together the 10,000 subscribers who already receive the weekly decorating tips and sectional fine art!
Potting Method 2 – For Moss
If y'all want to use moss or moss rocks, y'all tin can use the simplified method below! And really, I prefer this method for big plants too because it's less messy than Method 1 above if you desire to switch out the container.
Stride i (optional)
Add a riser to your found if you need to add height. Ensure anything you use is stable and so that the plant won't topple over.
Pace two
Fill the gaps. I use grocery store bags most always, merely newspaper, tissue, chimera wrap, or whatsoever type of filler material will exercise!
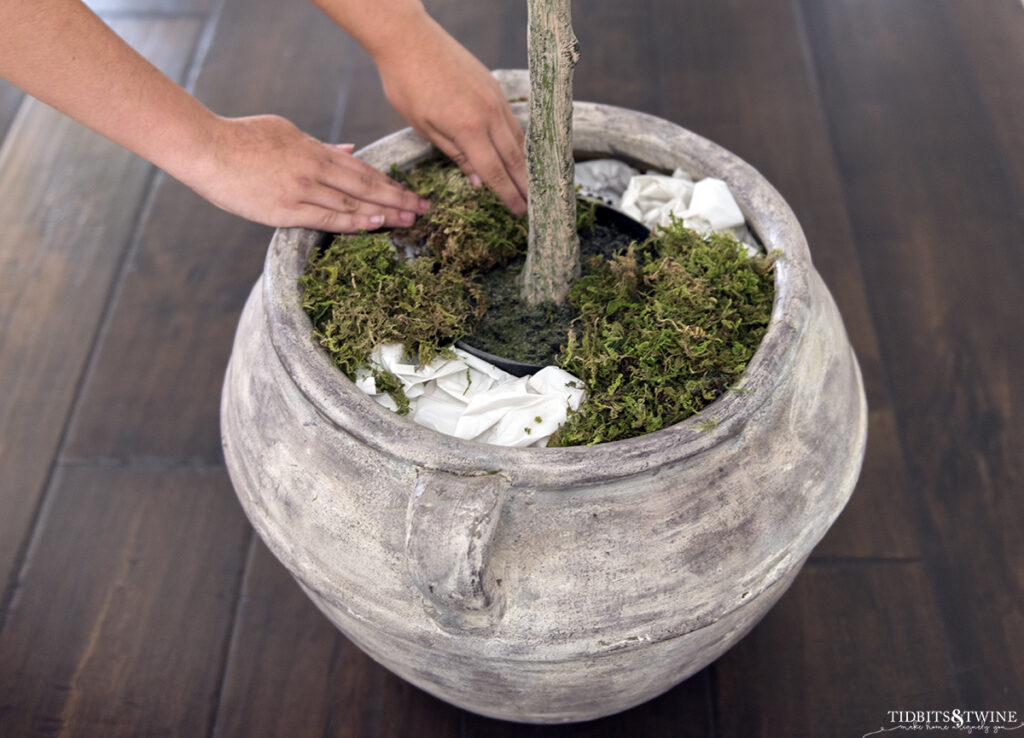
Footstep three
Add together a layer of moss to cover the filler and plastic pot.
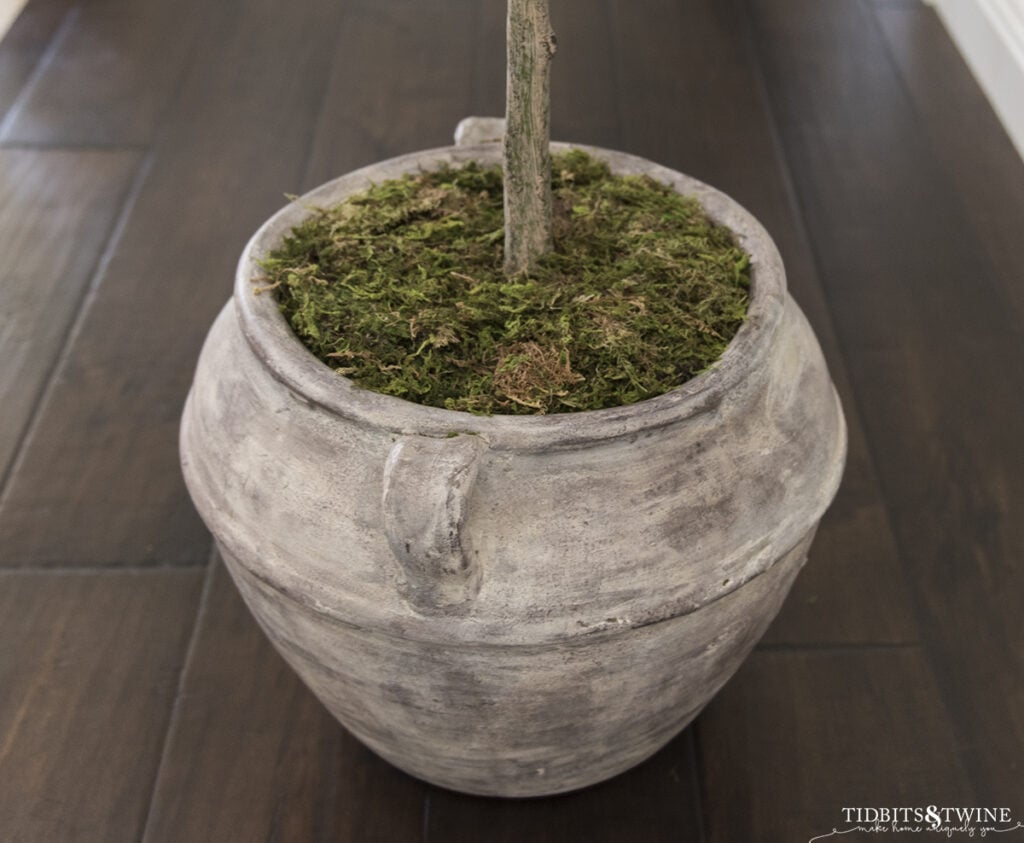
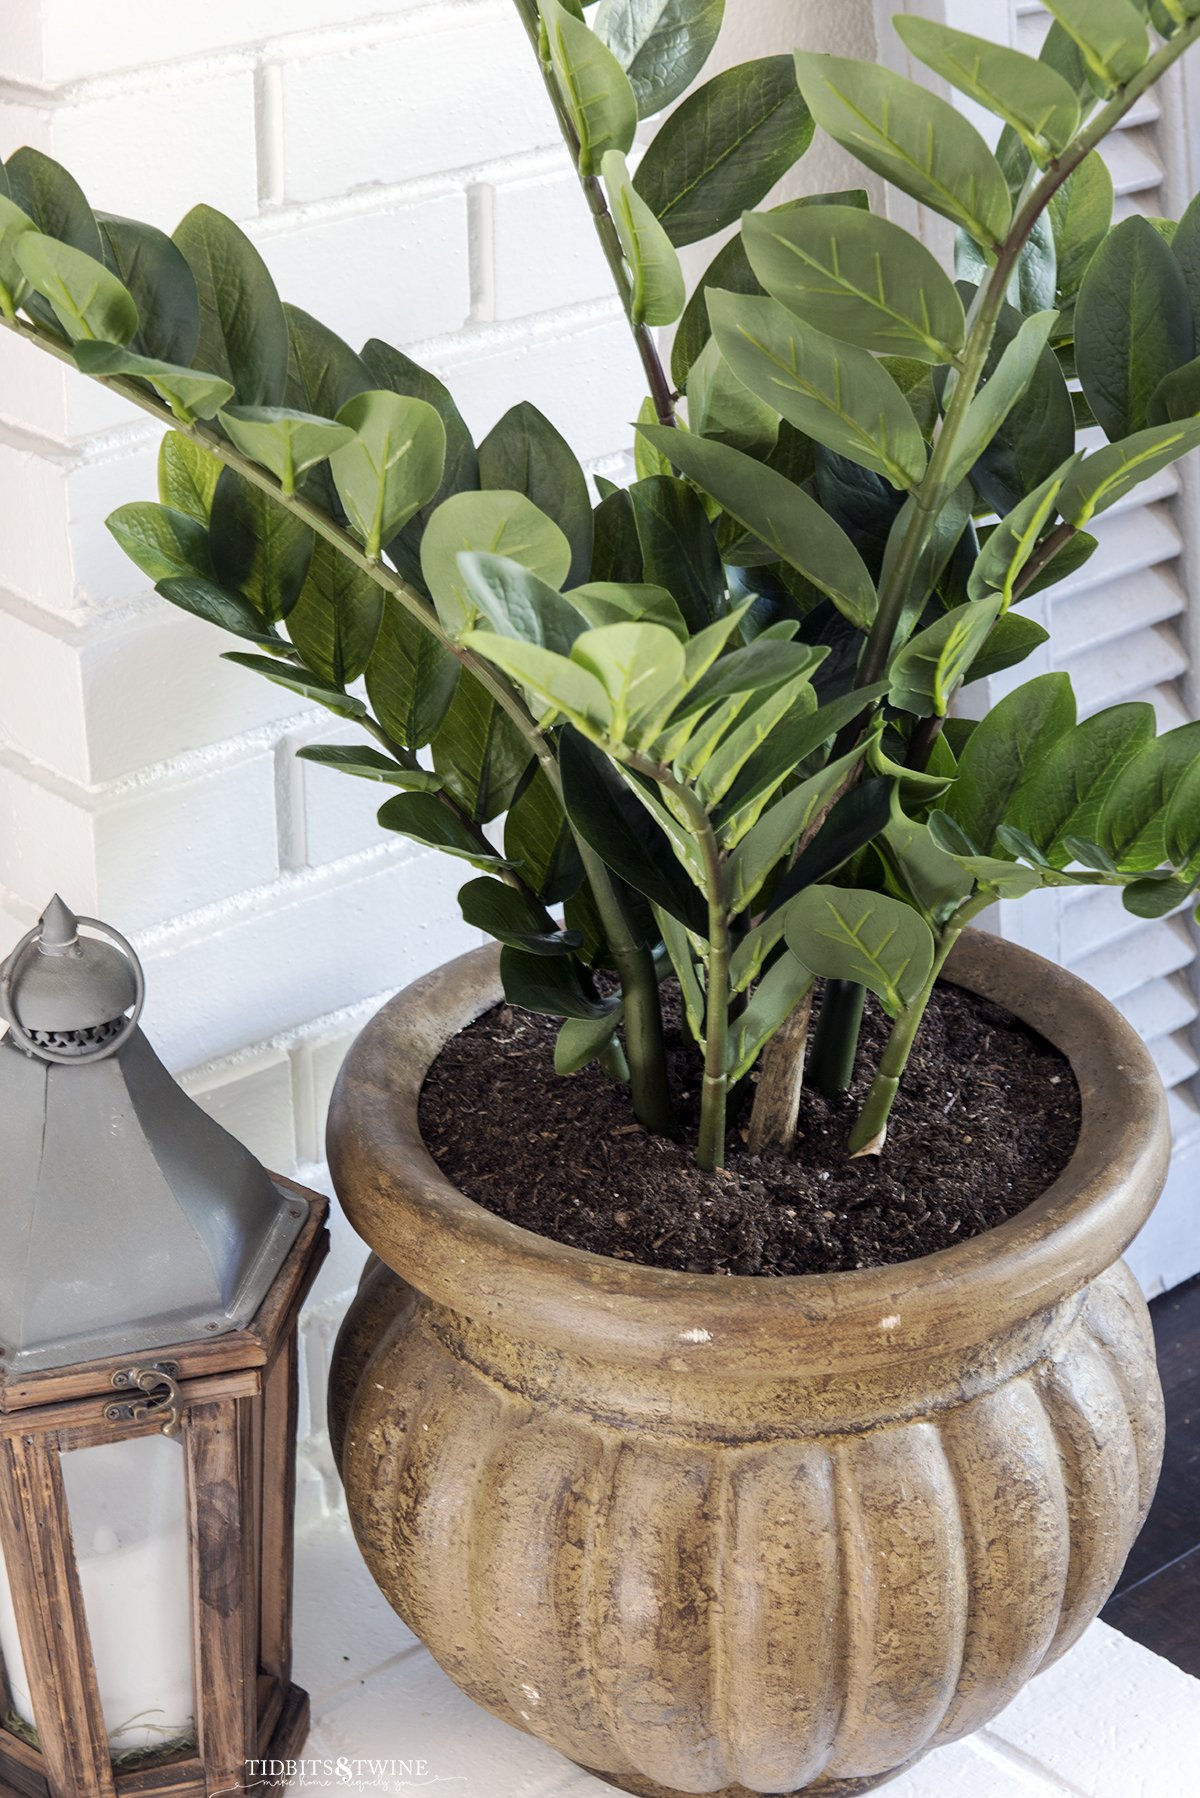
Either of these methods is a super-easy way for how to secure artificial plants in pots, covering those yucky pots and making your fake plants look real! Existent elements added to the mix make all the difference.
Additional Tips for Imitation Plants
Also, keep the following in heed when working with fake plants or flowers:
- Always make certain to "fluff" your fake found in one case you get information technology dwelling. You'll need to bend the branches and leaves to help requite it a more realistic appearance.
- Dust, grit, dust!! Plants, real and faux, practise get dusty and both need to be cleaned. So don't forget about the leaves when dusting! Cipher says false similar a potted establish covered in cobwebs!
Agile Time 10 minutes
Total Time 10 minutes
Materials
- Artificial plant
- Decorative planter/pot
- Pair of scissors
- Packing material (newspaper, plastic bags, etc)
- Riser (optional)
- Cardboard or plastic pot liner
- Clay or moss (depending on method)
Tools
- Pair of scissors
- Manus Trowel
Instructions
- Measure the opening of your pot AND the diameter at the height you lot want your plant to sit.
- Measure the circumference of your plant at the base (measure out the found, not the pot).
- Select a plastic liner size nearest to the diameter of your finished opening. Cut from the outer border to the center. Because the plastic is flexible, this cut will let you lot to contract/aggrandize the liner as needed. Cut a circle in the eye matching the diameter of your institute'south leaves/stalk.
- Determine your finished height. If your container is deep and you lot want to raise the summit of your institute, add a base.
- Fill in the gaps. I use grocery store bags almost ever, simply newspaper, tissue, bubble wrap, or any type of filler material will practise!
- Insert your liner (or cardboard).
- Add a layer of clay to cover the liner and plastic pot.
Notes
- Always brand certain to "fluff" your fake plant once you get information technology home. Y'all'll need to bend the branches and leaves to help give it a more realistic appearance.
- Dust, dust, grit!! Plants, real and fake, do get dusty and both need to exist cleaned. Then don't forget near the leaves when dusting! Nothing says fake like a potted constitute covered in cobwebs!
More Decorating Tips
- The Best False Flowers That Expect Real
- Marble Tile Bath – My Experience with Intendance and Maintenance two Years Later
- Design Style Quiz
- Learn How to Decorate a Mantel in 3 Uncomplicated Steps


Permit'southward go on in bear on! Become exclusive artwork plus the latest news delivered directly to your Inbox!
Source: https://www.tidbitsandtwine.com/how-to-secure-artificial-plants-in-pots/
0 Response to "How To Store Artificial Flowers In Craft Room"
Post a Comment